
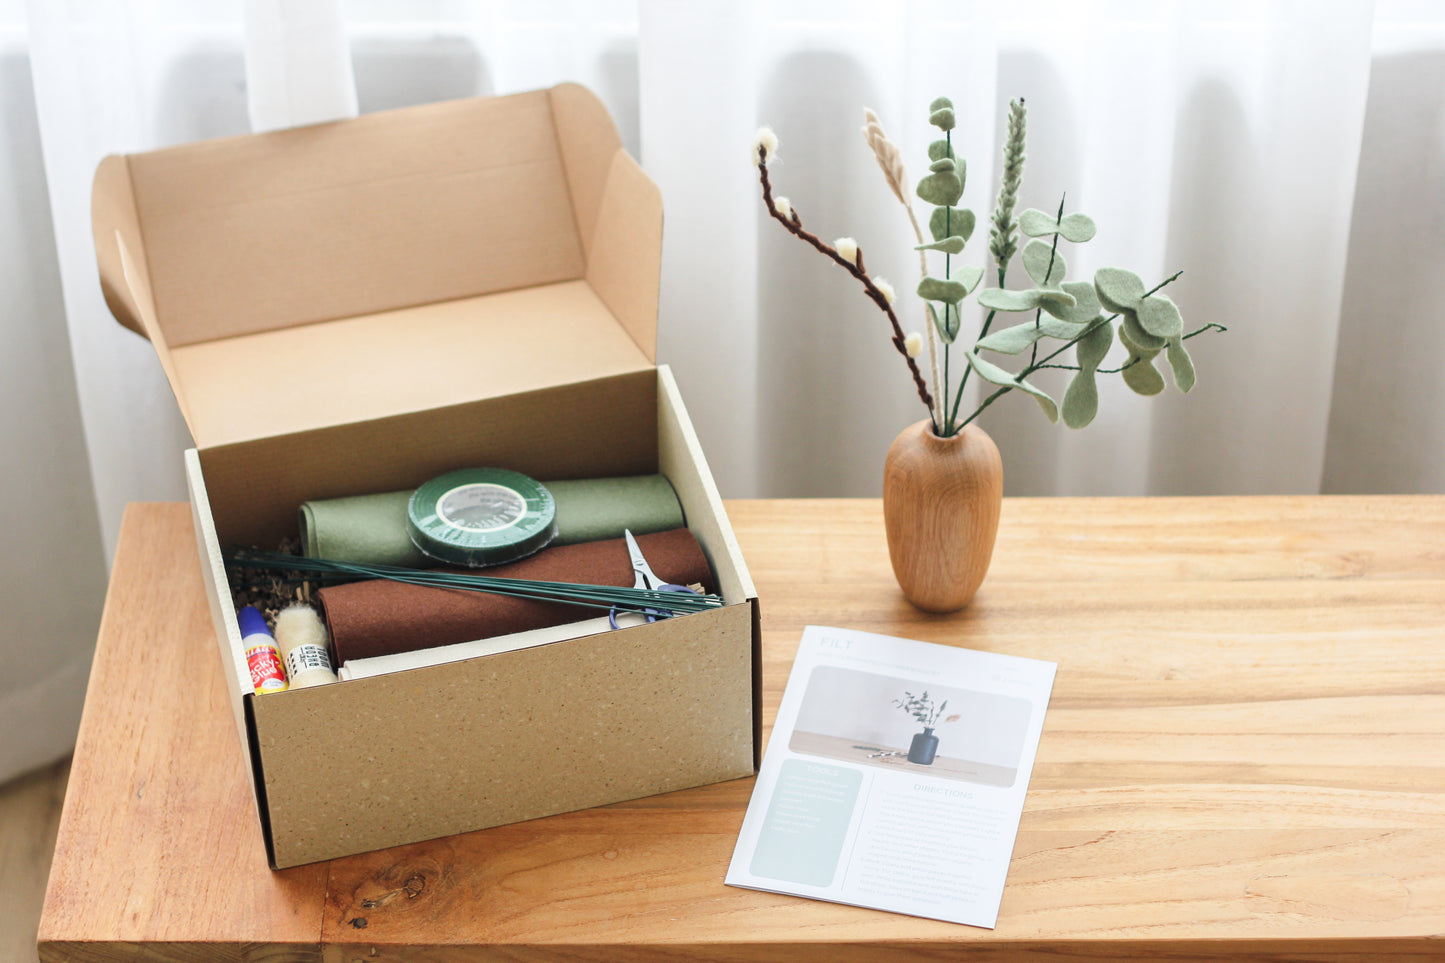
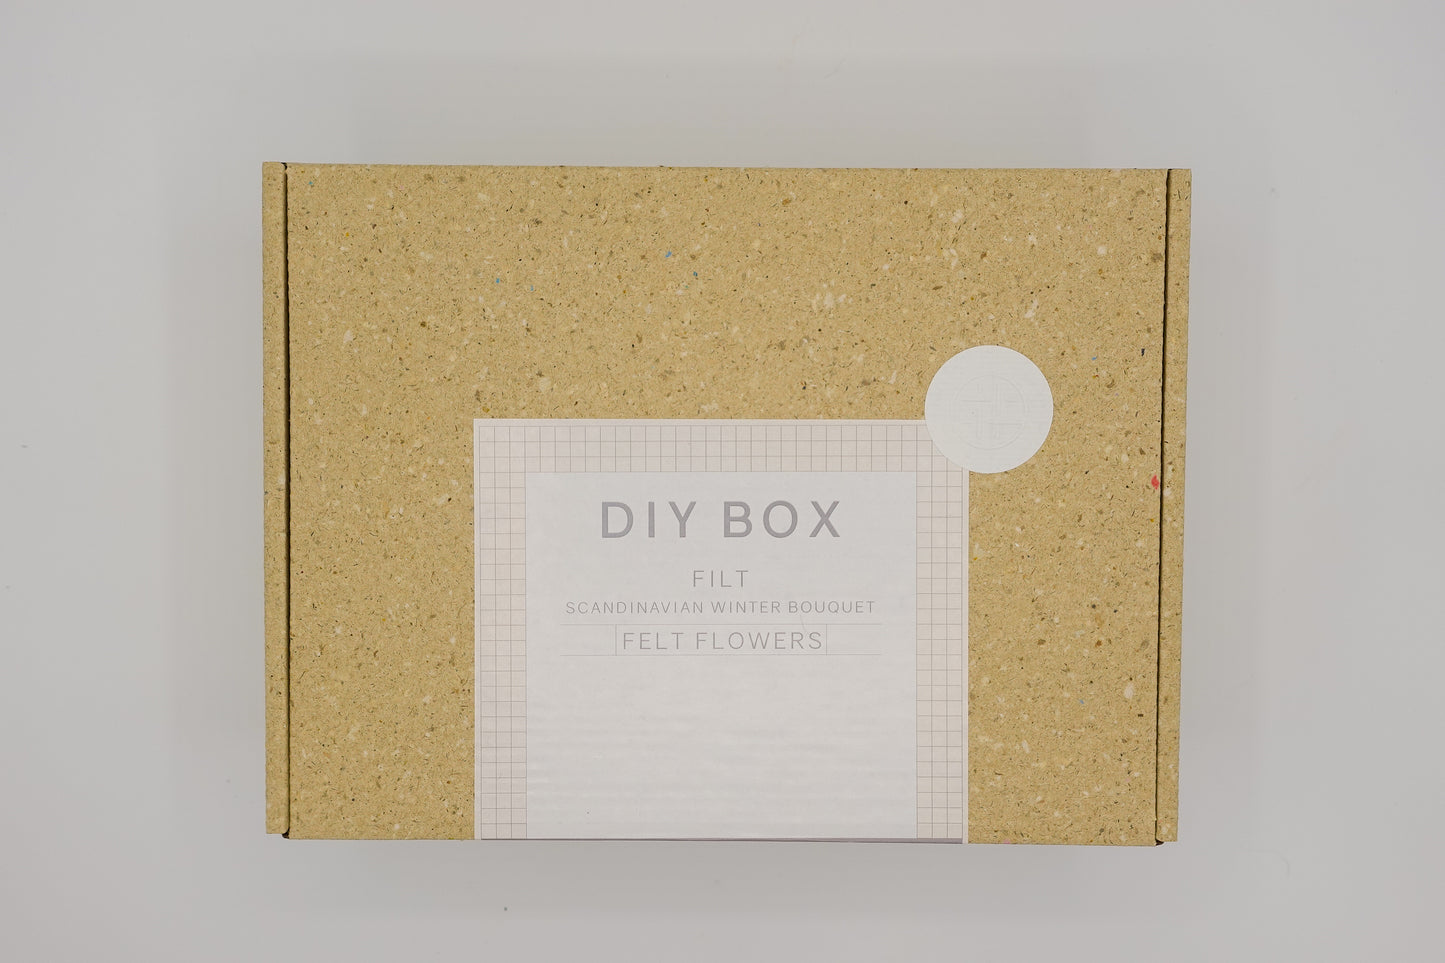
Material list

Natural wool felt green

Natural wool felt beige

natural wool felt brown

Scissors

Flower tape

Flower wire (thick & thin)

Tacky glue

Optional

Pencil

Clothespin

Glue gun

Good to know

  • You’ll want to have everything within reach so you can focus on crafting. Check the material list in the box on the left and make sure you find a nice space where you can craft. Light a candle, put on some music and get ready for a few hours of cozy crafting.
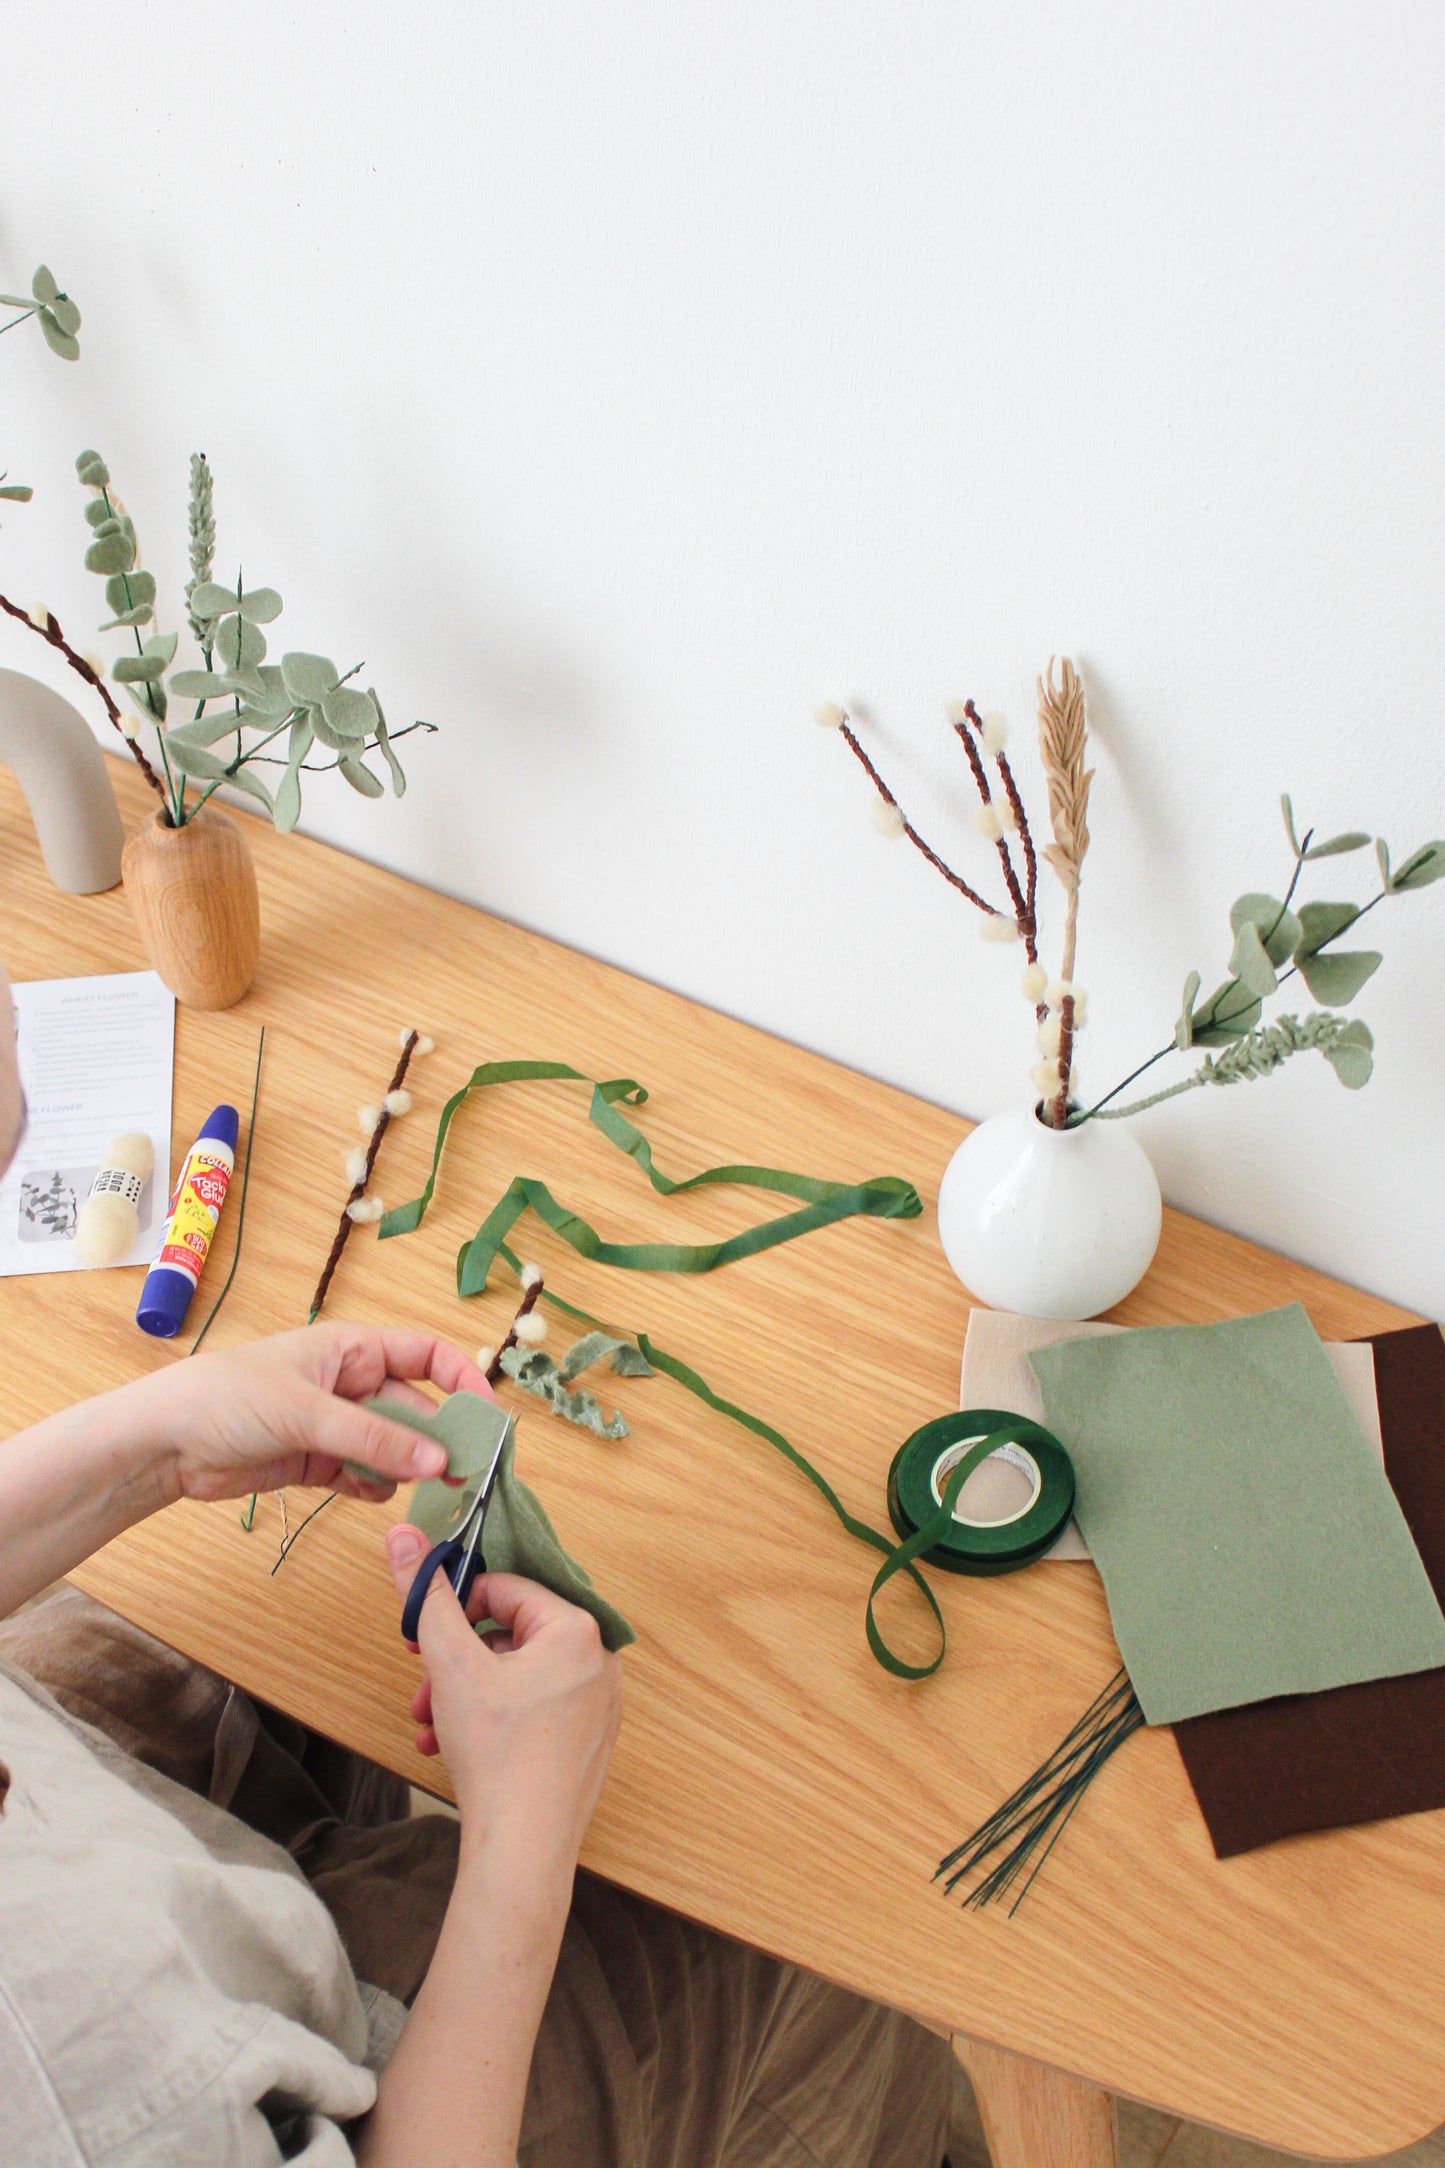
  • Use templates or freehand your petals, leaves, and other shapes. Felt is forgiving, so don’t worry about perfection. Organic shapes also look more natural.
  • Work slowly and press pieces together firmly. For stems, glue felt directly onto floral wire. Wrap exposed wire with floral tape or felt strips. You can bend and fluff petals or leaves to give them dimension.

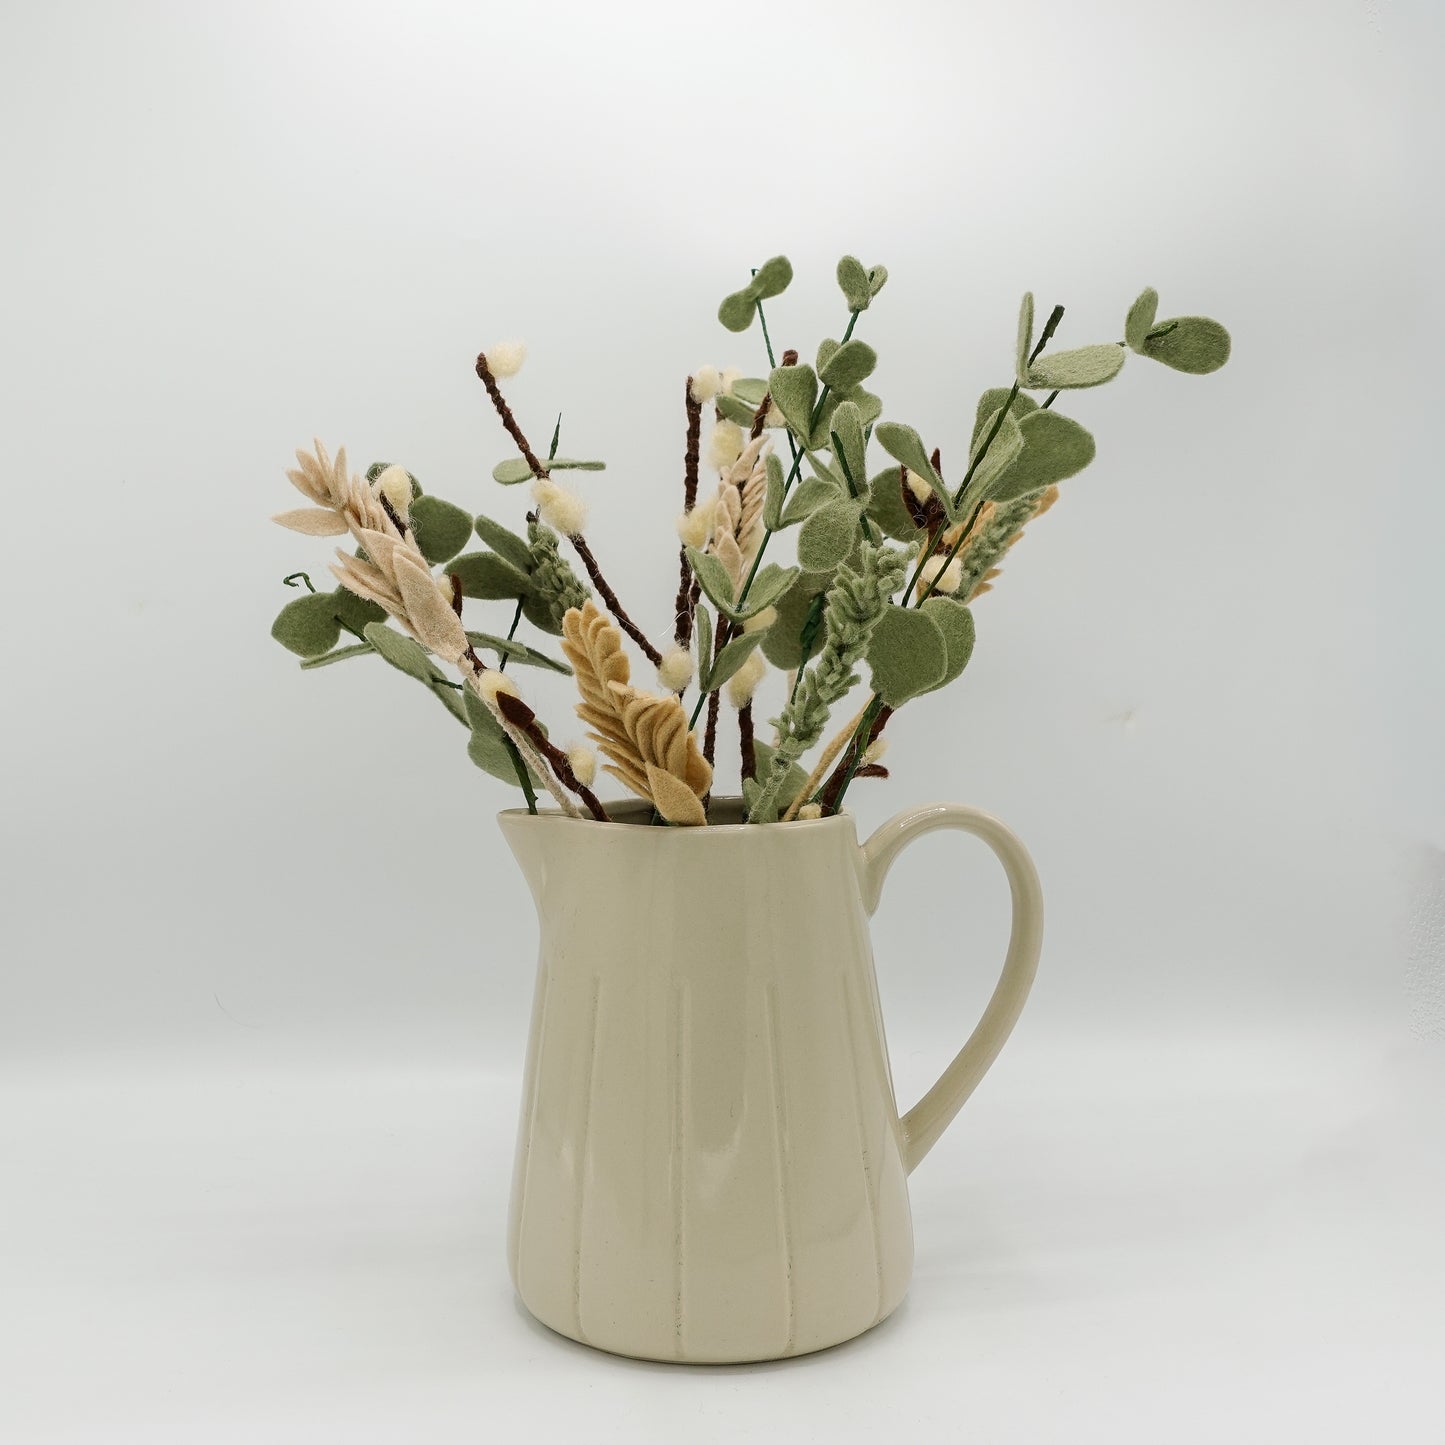
Eucalyptus flower

  • Wrap the wire base with floral tape. You can also make a V-shape stem by adding multiple stems together with floral tape.
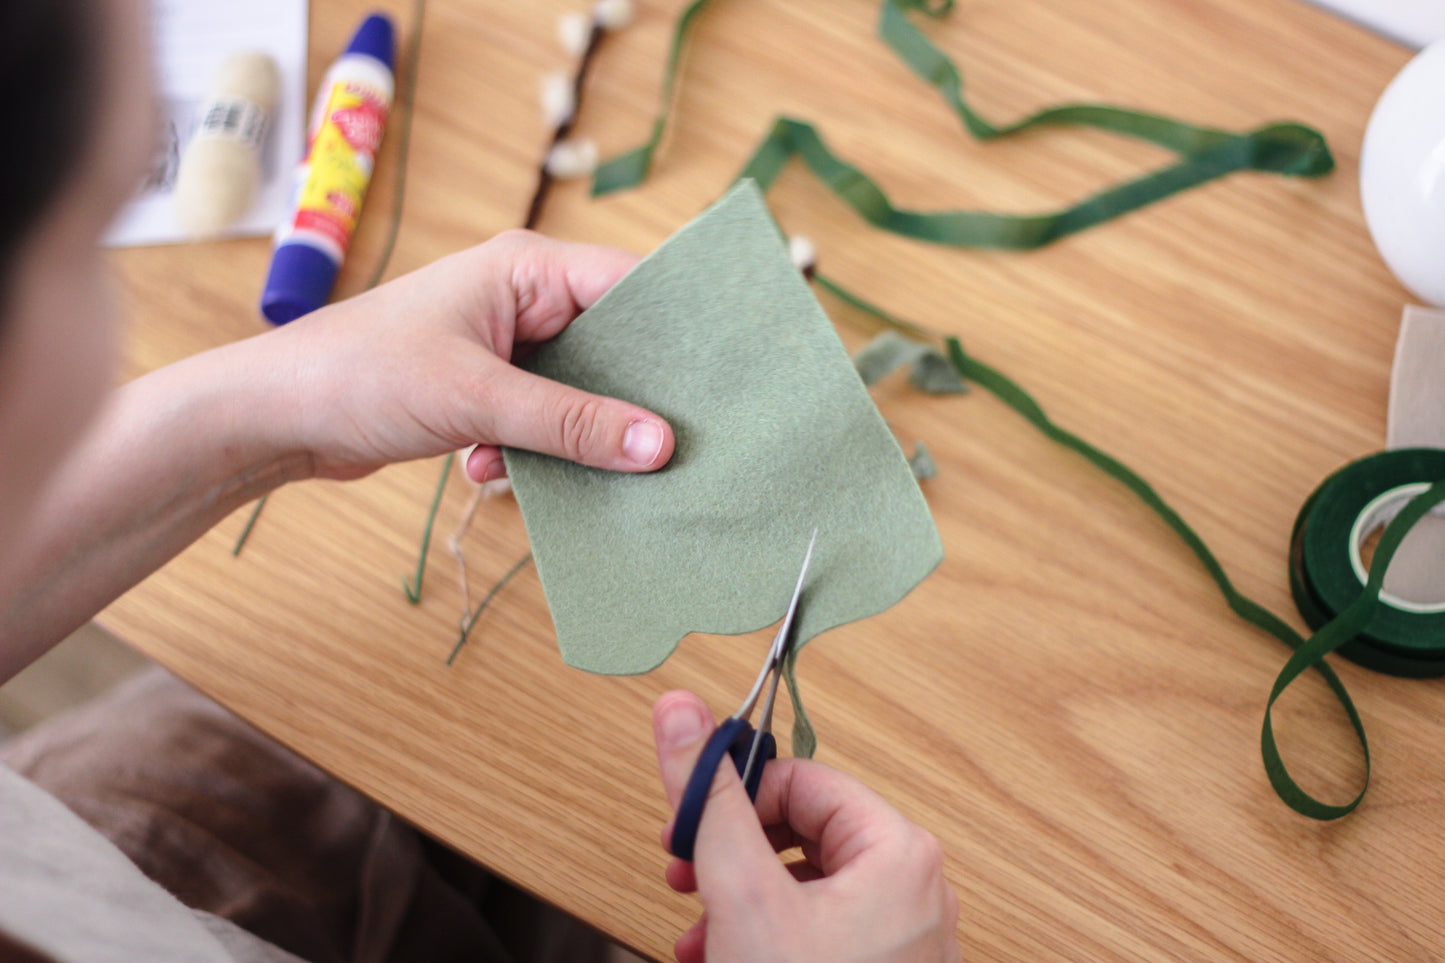
  • Cut your eucalyptus leaves. Fold a piece of 4x3 cm green felt in two and cut a tear shape through both layers, with the smallest part on the folded side. Cut a tiny slot there. Open up the felt. You´ll have an 8-shape with a slot in the middle. This is your biggest petal.
  • Create different sizes of petals.
  • Slide the slots on the stem and build your stem. Bigger petals go to the bottom, smaller ones at the top.
  • Glue each petal onto the floral wire and shape with your hands. Wait for glue to dry or use a glue gun for quicker results.

Video tutorial: eucalyptus

Eucalyptus shape

Characteristics of the eucalyptus:

Lanceolate or sickle-shaped: Most eucalyptus leaves are long and narrow, tapering to a point at both ends, resembling a lance or a curved blade.

Smooth edges: The margins are typically entire (not serrated), giving them a clean, fluid outline.

Curved or drooping: Many species have leaves that gently arc or hang downward, adding to their graceful appearance.

Each petal is unique

Eucalyptus petals come in many shapes and sizes. Be inspired by the examples / templates in the image.

You can trace these templates on a piece of paper and lay it over your felt. This gives you a guide to make a realistic shape.

Make sure that your felt is folded in half! This way, you'll be able to create the slot in the middle and slide your eucalyptus leaves on the stem.

Need more inspiration? Visit your local park, florist and/or garden center and get yourself a nice little bouquet of eucalyptus!

Wheat flower

  • Cut two strips of beige felt. Approximately 3 mm x 10 cm.
  • Roll this felt tightly around the wire base, adding glue to the felt as you go. You don't necessarily need to go to the bottom, since that part will usually be hidden in a vase.
  • Cut the wheat blades with beige felt. Make thin, pointed strips, like elongated teardrops. Create multiple sizes.
  • Glue the blades in a staggered pattern along the top of a floral wire, layering them to mimic a wheat head.

Video tutorial: wheat flower

Wheat shape

Use a slender shape that elongates into a sharper point.

Linear and narrow: The blade is long and thin, resembling a ribbon or strip.

Tapered tip: It gradually narrows to a slightly pointed end.

Flat and flexible: The surface is smooth and pliable, allowing it to sway in the wind.

Sheathed base: The lower part wraps around the stem, forming a sheath.

Catkins stem

  • Wrap your metal wire base with floral tape.
  • Cut two strips of brown felt, approximately 3 mm x 10 cm.
  • Roll these felt strips tightly around the wire base, adding glue to the felt as you go. You don't necessarily need to go to the bottom, since that part will usually be hidden in a vase.
  • Grab your ball of wool. Tear apart a tiny piece of wool.
  • Roll it between your hands to make an oval shape. These are your catkins.
  • Glue the catkins to the felt-wrapped base.
  • Optional: cut some tiny triangle shaped leaves from the brown felt and glue them where the wool oval shapes touch the wire.
  • Wrap the bottom of the stem with floral tape.

Video tutorial: catkins stem

Pine branch

  • Wrap your wire base with floral tape
  • Cut a strip of green felt. Approximately 1,5 cm x 12 cm.
  • Make tiny cuts on the felt side that is 1,5 cm. Leave around 0,5 - 1 cm uncut.
  • Add glue to the part that is not cut.
  • Wrap this around your wire base, going downward as you go.
  • You can also add some brown (paper) tape to make a brown stem for the pine branch.
  • Want to make a pine cone? Use the dark brown felt from your kit.

Video tutorial: pine branch

Extra instructions for the best result

Crafting is about more than making something. It’s a moment to slow down, breathe deeply, and reconnect with your hands, your thoughts, and your joy. It's about experimenting. Learning new skills. As you shape each petal, let go of perfection and enjoy the process.

  • If your glue takes a while to dry, use a clothespin to gently hold pieces together.
  • Prefer a faster fix? A glue gun works wonders.
  • Add a drop of essential oil to the back of your felt petal for a subtle scent boost

About this tutorial

Video made by The Good Craft. Do not copy without consent.

Music in the video is Peace Be With You by Christopher Galovan, Equilibrium by Brook Hewitt, Seasons by Brock Hewitt and Lazy Sunday by Hybridas. All music via Uppbeat.